Need something good to cover your shower wall? Meet FRP panels. FRP is known as one of the panels with the lowest budget needed. Well, it may not be the best to cover your bathroom walls, but if you are quite tight on budget, this choice isn’t a bad one.
Moreover, the easy installation of FRP panels makes it an ultimate choice, especially for the DIY shower wall paneling projects.
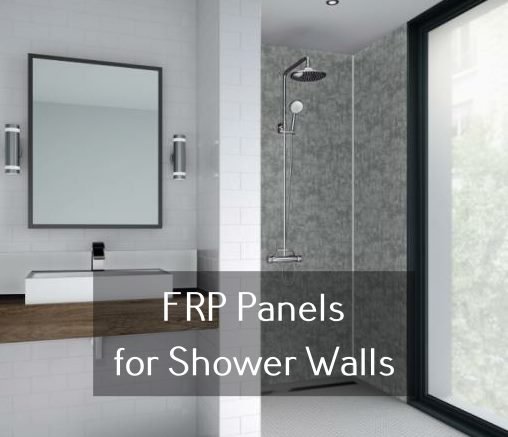
FRP Panels for Shower Walls
Well, if you look up its name on the internet, FRP may stand for many names. For example, fiberglass reinforced panels, fiberglass reinforced plastic, or fiberglass reinforced plywood. Whatever it is, the main idea is that this FRP is a panel reinforced with fiberglass.
These panels can be installed easily on any surfaces of walls and ceilings made of various materials, such as wood, concrete block, or other solid surfaces.
The FRP system includes plastic molding. That’s why its surface has decent resistance to scratch, stain, and mold. It is also easy to clean and durable enough. Even for a cleaning, you can only scrub a bit and hose it up. No stain will be left.
Other than that, hospital walls, public bathrooms, food processing areas, and restaurant kitchens are known to use these wall panels.
Below are the advantages of FRP panels:
- FRP is a strong and scratch-resistant material
- Lightweight and flexible
- Both glue and fasteners can work to install this panel.
- Low price
- Say bye for mold growth, rust, and corrosion.
- A good material to cover any surfaces, including damaged wall and ceiling surfaces.
Although there are many thicknesses of FRP panels, the most common thickness sold widely is the panel with a 0.09-inch thickness.
Thickness isn’t that crucial in paneling your shower walls since the one important is its capability to be waterproof. The FRP panels’ waterproof feature is something that coats your wall from water and moisture.
How to Install FRP Panels in Shower
To install FRP panels for shower walls, below are the things you will need.
- Fine-toothed saw/shears
- Measuring tape
- Laminate roller
- FRP adhesive
- Trowel
- FRP silicone sealant
Then, you’ll need to follow these instructions:
- Bring the panels to your home and make them acclimate to the room temperature where you will install them. Leave it for at least 24 hours before the installation.
- Ensure the wall surfaces are dry, clean, and free of any paint chips, dust, and grease.
- Measure the area of installation, and cut the panels out in a width that matches. To cut the panels, use the fine-toothed saw or shears. Leave out a ¼-inch expansion joint on your panel’s upper and lower side and
an -inch expansion joint between each panel. This is needed to avoid bulging whenever the panels expand.
- Spread the FRP adhesive onto the panel’s back using a trowel. Make it spread across the panel evenly.
- Then, using a laminate roller, roll the panels from top to bottom, side to side. Avoid making any bubbles that may cause the panels to not sticking properly.
- Spread adhesive onto each FRP divider bar’s backside, then place it on every vertical expansion joint to conceal them. Do a similar step to attach the cap rail to the panels’ top.
- Lastly, caulk all joints with the silicone sealant. Then, let the adhesive dry for a day. So, you shouldn’t use the room still to shower.
Those are things you should know if you are going to install FRP panels for shower walls. It is a good deal due to its water and mold resistance.
Moreover, this panel can be considered as one of the cheapest panels for bathroom walls, so you can save money and allocate it for something else.