FRP or Fiberglass Reinforced Plastic is a popular wall paneling material due to its durable quality. Before it is applied or installed, it must be cut to fit the size of the wall.
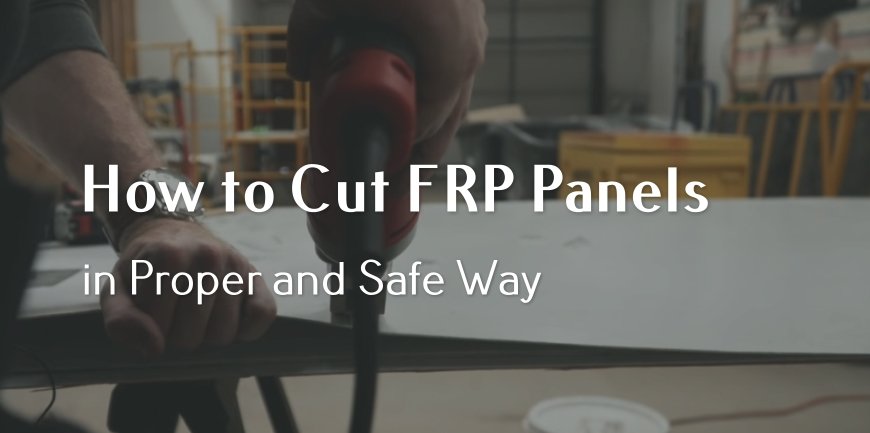
The FRP panel’s composition requires it to be cut using a special tool such as a carbide-tipped saw. It is also important to incorporate safety equipment to prevent inhaling dust and guard oneself against flying debris.
So, what’s the best way to cut FRP panels? Learn how to cut FRP panels properly below.
How to Cut FRP Panels Easily in 9-Steps Guide
Fiberglass Reinforced Plastic (FRP) is a flexible and thin plastic panel created from strong polyester resin and strengthened by fiberglass. This material is common to be used on both walls and ceilings because it’s easy to find and apply.
This lightweight panel is quite easy to install using fasteners, glue, or both. Despite how easy it is to install this material, it is still necessary to know how to cut FRP panels correctly and safely. They can be installed directly over plenty of solid surfaces such as drywall, concrete blocks, or wood.
FPR is a popular material because it can turn wall surfaces into super-walls. The surface will turn resistant to scratching and chemical elements. They can be cleaned using different types of washing materials such as detergents, high-pressure cleaners, or steam easily, providing sanitation protection. It also helps to prevent molds, rusts, or corrosion over your wall.
You need to know how to cut FRP panels because the panels come in the standard sizes of 4-ft wide and 8, 9, 10, or 12-ft lengths. It comes in 0.09-inch in thickness, and 12-oz weighs per square foot. That’s why the size needs to be adjusted to fit with your wall.
Several tools can be used to cut FRP. Some of them are electric shears, circular saws, or jigsaws. Learn how to cut FRP wall panels using a circular saw in nine simple steps below:
Read also: The Advantages FRP Panels for Shower Walls
- Prepare and use safety equipment such as safety glasses, leather gloves, and particulate respirators.
- Use tape measurement and a carpenter pencil to mark the length that you need to cut along the edge of the FRP panel. Repeat this step on the opposite edge of the panel to put a corresponding mark.
- Put the FRP panel on a flat surface with enough size to support the panel’s entire length.
- Draw a line between two marks that you made in advance with a chalk line.
- Put the carbide blade into the circular saw and secure it.
- Place the marked line so it will set over the table’s edge.
- Align the carbide blade of your circular saw with the chalk line you made before, press the saw’s trigger, and push the blade slowly into the panel that you’re going to cut.
- Maintain the carbide blade push against the FRP panel while keeping it aligned with the guideline.
- Once you’ve reached the edge of the panel, tilt the saw about 15 degrees and drag a utility knife to remove remained burr from the whole cutting process. Be careful not to press the blade along the cut as it will create damage to the panel.
FRP wall panels are suitable for different spaces such as kitchens, hallways, classrooms, offices, dining rooms, recreational areas, and so many more.
Once you get how to cut FRP panels safely and correctly, you can use and install them over damaged surfaces on existing drywall or over new walls.